Importing Contacts
If you already have an existing database of your ministry partners from another program such as a contact manager, you should strongly consider importing it into TntMPD. If you have been keeping fairly good records of your ministry partners, you will want to keep the correct spelling of their name, address, phone number, etc. There is little benefit in throwing all of this hard work away!
If you do not already have an existing database of your ministry partners, and your ministry organization offers an online donation system that is compatible with TntMPD, you can import your contacts from there.
You should hold off on connecting to your ministry's online donation system until after you have imported your previous database. If you already have connected to your ministry's online donation system, but you haven't yet imported your contacts from your previous database, you may want to consider completely starting over. To create a new database and completely start over, click on New from the File menu.
TntMPD can import contacts in two ways:
- From a CSV (comma delimited) text file
- From Microsoft Outlook 2000/XP
Most database programs and contact managers (such as Microsoft Access and Symantec ACT!) can export their data to a CSV (comma delimited) text file. Even if they can't export to a CSV file, if they export their data at all they can probably export their data to a format that Microsoft Excel can open. When you export from your previous database, if your program gives you the option to include field names when you export, choose to. You want the first row of data to include field names just like Figure 1.
 |
Figure 1. Sample import database
Here's a sample file you can use to test the import feature.
Once you have your CSV file ready for import, start TntMPD. On the File menu, point to Import, and then click Import Contacts from Text. From there you are prompted to choose your file. After you choose your CSV file, your are prompted to map the fields between your CSV file and TntMPD. See Figure 2.
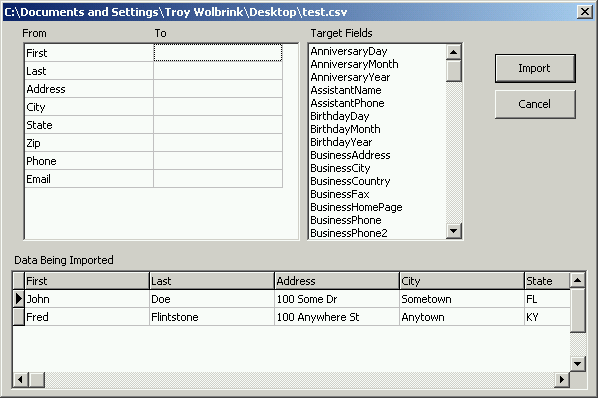 |
Figure 2. Import from CSV
Notice that the contents of the CSV file are visible under where it says Data Being Imported. Also notice that all of the fields in the CSV file are listed in the From column of the field mapping grid. To map a field from your CSV file to a field in TntMPD, drag a field from the Target Fields list into the To column of the field mapping grid.
TntMPD offers many fields you can import into. There are nine name fields (see Figure 3). Address fields are available for Home, Business, and Other. There are 19 phone fields. There are three email fields. You can also import unlimited notes into the "Notes" field. There are 4 user fields, a "UserStatus" field and a "Categories" field.
| Title |
SpouseTitle |
| FirstName |
Spouse |
| MiddleName |
SpouseMiddleName |
| LastName |
SpouseLastName (if different) |
| Suffix (i.e. Jr., Sr., II.) |
|
Figure 3. Name fields
You can also import MPD related data such as financial pledge information. Learn detailed information about all of the available import fields
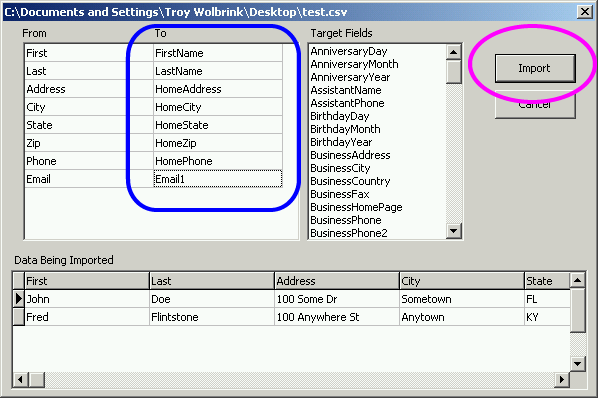 |
Figure 4. Import from CSV - Fields are mapped.
After you have mapped all the fields you wish to import into TntMPD, click the Import button (see Figure 4).
Importing from Microsoft Outlook is very straightforward. On the File menu, point to Import, and then click Import Contacts from Outlook. TntMPD will begin to immediately analyze the Outlook contacts folder. See Figure 5.
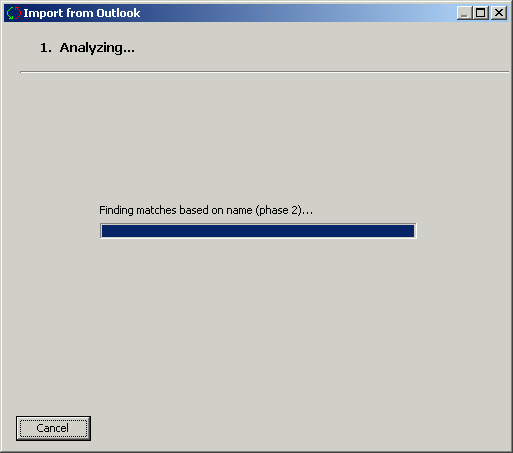 |
Figure 5. Import from Outlook - analyzing the contacts folder
This process will by default analyze the main contacts folder in Outlook. If you with to import from another folder, or if you receive an error about "MAPI Enhancements", refer to Advanced Outlook Settings. After the analysis phase is over, you will be presented with the contacts available for import. See Figure 6.
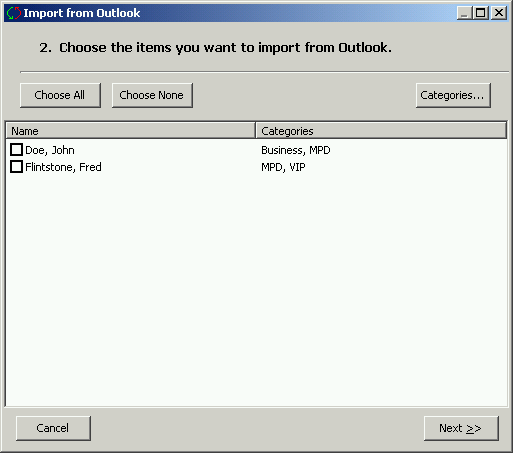 |
Figure 6. Import from Outlook.
All that is needed at this point is to select the contacts you wish to import from the list. As an added convenience you can click on Choose All (see Figure 7). If you wish to select the contacts based upon which category in Outlook they have are associated with, click on Categories.
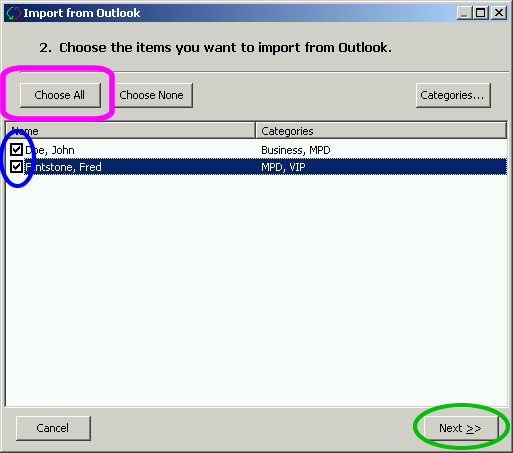 |
Figure 7. Import from Outlook - contacts are checked off and ready for import.
After you have checked off the contacts you wish to import, click the Next button. You will be given confirmation on how many contact will be imported from Outlook. To import, click the Import button. See Figure 8.
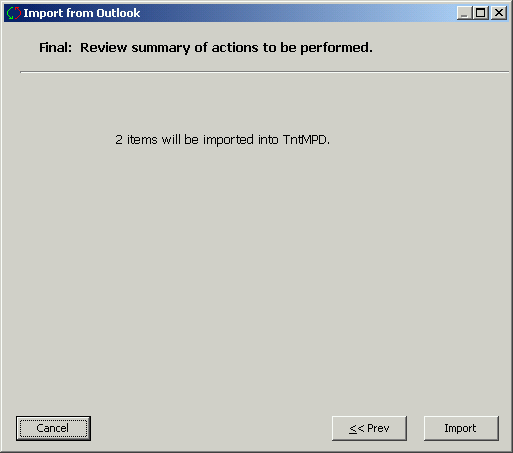 |
Figure 8. Import from Outlook - confirmation