How to Maintain DonorHub Lite
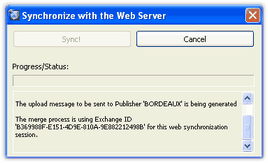
1.If you are set up to synchronize with a remote web server, anytime you are about to begin working inside the program, you should start off by synchronizing.
Menu Path: File | Synchronize

2.Synchronize. This will cause new data to be pumped into DonorHub Lite (one-way) so that it accurately reflects your existing enterprise donation and financial systems.
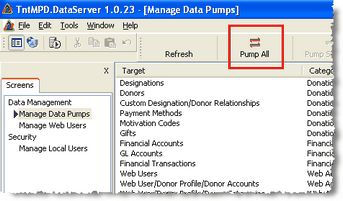
Screen Link: Manage Data Pumps
Press the <Pump All> button.

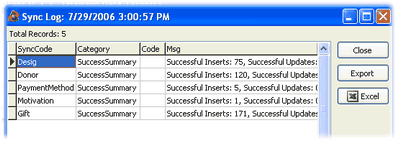
3.When this process is complete, you should be provided a "Sync Log" that provides a summary of what happened. When you close the log, you may also be prompted to synchronize with your remote Web server.

4. Setup users with access to their data.
Screen Link: Manage Web Users
Press the <New Web User> button.
Each user may have multiple profiles they can pick from within TntConnect with downloading information.
Example: A staff member may have one profile for contributions given to their personal account, and another profile for contributions to ministry accounts over which they have responsibility.
Right-click on the user's name in the list to add a new profile. Each profile can be associated with designations and financial accounts. In order for the user to get started, you will need to provide a "Registration Code" and you will need to communicate this code to them.
Screen Link: Enter New Registration Code

Staff or Donor web users

Auto registration with sso email
Category designation for accounts
5.When you are done working, if you are setup to synchronize with a remote web server, you must synchronize for the Web server to reflect any changes you made.
Menu Path: File | Synchronize

Read More > How to Integrate TntConnect with DonorHub Lite